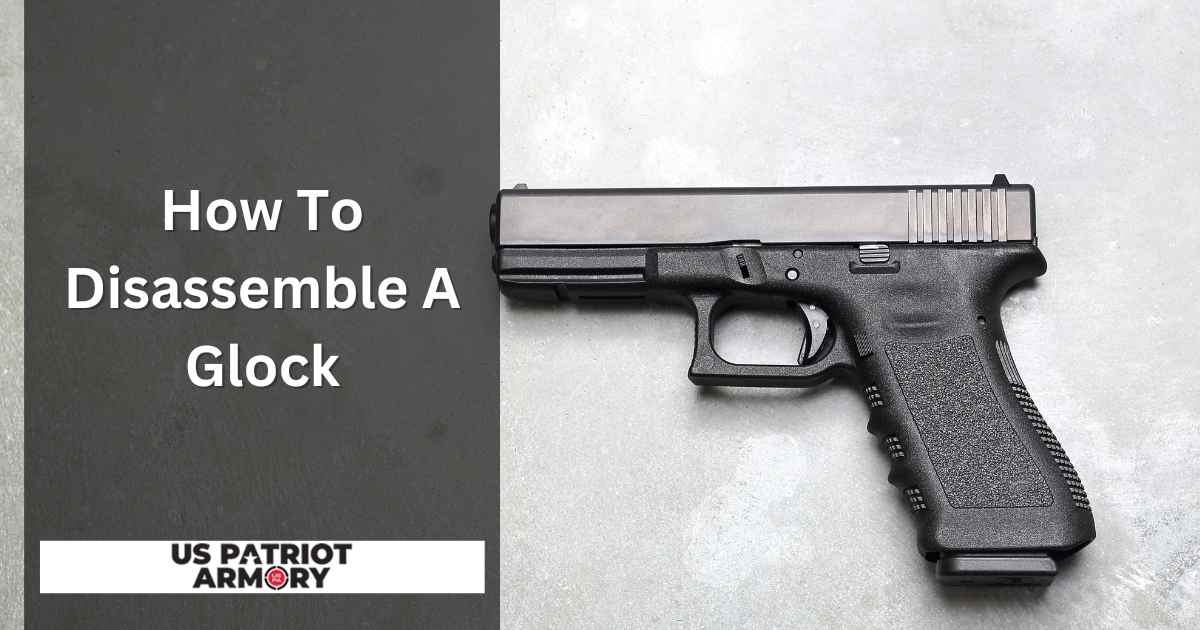
Handling and maintaining firearms, such as a Glock pistol, is crucial for ensuring their proper functioning and safety. Glock pistols are known for their simplicity and reliability, making them popular choices among gun enthusiasts. It is essential, however, for Glock owners to understand how to disassemble their firearm for cleaning, maintenance, or inspection purposes.
Disassembling a Glock consists of a few straightforward steps. As a professional with firearms experience, it is vital to consider safety precautions before attempting to take apart a Glock. Unloading the pistol and ensuring the gun is pointed in a safe direction are necessary steps before proceeding. This informative guide will provide a comprehensive overview of how to disassemble a Glock with confidence and precision.
Safety Precautions
Ensure Safe Direction
Always start by pointing the Glock in a safe direction. You should never point the muzzle at yourself, others, or anything else you don’t intend to shoot. Make sure your surroundings contain no living beings, fragile items, or flammable materials. Being cautious about where you direct the gun is paramount during the disassembly process.
Unload Ammunition
It is crucial to remove all ammunition from your Glock before disassembling. First, put the safety on and release the magazine by pressing the magazine release button. Next, visually inspect the magazine, ensuring no rounds remain inside.
Clearing the Chamber
After unloading the magazine, focus on clearing the chamber:
- Grasp the Glock’s slide, pulling it rearward
- Inspect the chamber for any remaining rounds
- Eject any lingering ammunition
Double-checking for leftover rounds is crucial. After clearing the chamber, point the Glock in a safe direction and pull the trigger to release the firing pin.
Following these safety precautions guarantees a secure disassembly process. Practicing vigilance when handling firearms ensures your well-being and that of those around you.
Disassembly Process
The disassembly process for a Glock requires methodical steps for the safe handling of the firearm. The process consists of three main sub-sections: Remove Magazine, Slide Disassembly, and Remove Barrel & Recoil Spring Assembly.
Remove Magazine
Before initiating the Glock disassembly, always ensure there is no load in the weapon. Safely point the weapon in a harmless direction and eject the magazine. After that, inspect the chamber to confirm it is absent of ammunition.
Slide Disassembly
To begin slide disassembly, start with the following:
- Release the firing pin by activating the trigger with caution.
- Firmly hold the firearm while enclosing the top of the slide with four fingers, letting the thumb rest on the grip.
- Pull the slide about 1/10th of an inch back, pressing down on the slide lock.
Remove Barrel and Recoil Spring Assembly
This phase involves two primary actions: removing the recoil spring assembly and the barrel. For that, follow these instructions:
- With the slide disassembled, proceed to cautiously remove the recoil spring assembly.
- Grasp the ends of the recoil spring assembly, using finger and thumb.
- Gently compress the inner part toward the outer section, before easing it out of the barrel.
- Afterwards, access the barrel by doing the following:
- Detach the barrel from the slide, making it come to a halt.
- Push the barrel forward, guiding it into the opening where it originally rested.
- Carefully pull the barrel outwards to finish the removal process.
By following these steps and utilizing proper safety precautions, one can successfully and securely disassemble a Glock.
Cleaning and Maintenance
Proper cleaning and maintenance of your Glock ensures its reliability and longevity. In this section, we’ll cover the essentials for keeping your Glock in top condition, focusing on cleaning individual parts and inspecting for wear and damage.
Clean Individual Parts
- Barrel: Begin by using a dry brush to remove debris from the chamber and muzzle. Push the brush through the barrel, chamber to muzzle, at least 5-8 times.
- Slide: Wipe down the slide with a cleaning cloth, paying attention to the rails and breech face. Apply a small amount of lubricant to these areas.
- Frame: With a brush or cloth, clean the grip and trigger mechanism. Apply lubricant sparingly to the rails on the frame.
- Magazine: Disassemble and clean the magazine, wiping away dirt and debris. Lightly lubricate the follower and spring.
Inspect for Wear and Damage
Regular inspection of your Glock’s parts helps identify potential issues before they become serious. Here are some areas to focus on:
- Barrel: Check for unusual wear, cracks, or bulges.
- Slide: Examine the slide rails for abnormal wear, ensuring smooth movement.
- Recoil Spring Assembly: Look for signs of damage or excessive compression.
- Frame: Verify the rails and other contact points on the frame have no visible damage or excessive wear.
- Magazine: Inspect the feed lips, follower, and spring for wear or damage, replacing parts as necessary.
Remember, diligent cleaning and close inspection of your Glock’s components are crucial to maintaining optimal performance and safety. As a responsible firearm owner, take the time to become familiar with the care and maintenance of your Glock.
Reassembly of Glock
In this section, we will guide you through the process of reassembling your Glock pistol. As a skilled professional, you’ll want to follow these steps carefully to ensure that your Glock is put back together accurately and entirely. We’ll discuss the reassembly of the barrel and recoil spring assembly, and then reconnecting the slide and frame.
Reassemble Barrel and Recoil Spring Assembly
Start by following these steps for the reassembly of the barrel and recoil spring assembly:
- Retrieve the barrel and slide components.
- Align the barrel into the slide, ensuring that it’s seated securely.
- Grasp the recoil spring assembly, and observe the proper orientation.
- Compress the recoil spring assembly slightly and insert it into the slide.
Ensure that the recoil spring assembly is seated correctly. This may require gentle pressure and proper alignment to guarantee secure and precise placement.
Reconnect Slide and Frame
Now that the barrel and recoil spring assembly are reassembled, it’s time to reconnect the slide and frame of your Glock 17:
- Position the slide at the front of the frame, ensuring proper alignment as the slide moves rearward.
- Engage the slide rails on the frame with the slide slots.
- Draw the slide back, and apply light pressure to avoid misalignment.
- While holding the slide back, use your other hand to manoeuvre the slide stop lever into place.
- Release the slide, allowing it to move forward.
- Perform a field stripping inspection to confirm the correct reassembly.
The reassembly process might take some practice and patience to master. Please refer to the Glock Disassembly Guide as an additional resource during your reassembly process to ensure correct and safe operation of your firearm.
Understanding Glock Models and Variations
Glock pistols, renowned for their reliability and straightforward design, come in numerous models and variations. This section delves into three popular Glock models: Glock 17, Glock 19, and Glock 43.
Glock 17
The Glock 17, Glock’s flagship model, set the standard for semi-automatic, polymer-framed pistols. Introduced in the early 1980s, it boasts:
- A 9mm caliber
- A standard magazine capacity of 17 rounds
- A barrel length of 4.48 inches
- An overall length of 8.03 inches
- A weight of 25.26 ounces (unloaded)
An ideal choice for military, law enforcement, and personal defense, the Glock 17 offers superior performance, durability, and ease of operation.
Glock 19
A compact variant of the Glock 17, the Glock 19 has gained immense popularity for its versatility:
- A 9mm caliber
- A standard magazine capacity of 15 rounds
- A barrel length of 4.02 inches
- An overall length of 7.36 inches
- A weight of 23.63 ounces (unloaded)
With a slightly smaller size and reduced weight, the Glock 19 makes it a preferred choice for concealed carry while maintaining the distinct features of its larger counterpart.
Glock 43
The Glock 43, a subcompact single-stack pistol, is designed for concealed carry, offering unmatched portability:
- A 9mm caliber
- A standard magazine capacity of 6 rounds
- A barrel length of 3.41 inches
- An overall length of 6.26 inches
- A weight of 17.95 ounces (unloaded)
Despite its smaller stature, the Glock 43 maintains the reliability and performance expected from Glock pistols.
Familiarity with these Glock models and their variations will ensure a better understanding of proper disassembly and maintenance. Remember, regardless of the model, always follow safe handling practices and adhere to the firearm’s manual for optimal performance and safety.
Additional Resources and Tools
When disassembling a Glock, it’s essential to have the right tools and resources at your disposal. In this section, we’ll cover field strip tools and Glock disassembling videos, which can aid in the process and improve your understanding.
Field Strip Tools
To effectively field strip your Glock, consider using the following tools:
- Glock Armorer’s Tool: A multi-purpose tool designed specifically for Glock disassembly and maintenance.
- Punch: A simple punch can be used to push out pins and assist in the disassembly process.
- Nylon or Brass Hammer: A soft-faced hammer can help with pin removal without damaging your firearm.
It’s also crucial to have a clean, well-lit workspace and proper safety equipment like gloves and eye protection.


